


The Raspberry Pi mini PC is very popular among inventors and designers because it is very affordable and offers many possibilities for programming. However, amateurs can also use the small device without needing a lot of prior knowledge, as a powerful media player, for example. There are several free programmes available for this feature. Installation and integration into the home network is simple.
Hardware
Nowadays, media players should also be able to play videos in HD resolution, i.e. at 720p or 1080p. The Raspberry Pi B+ and the Raspberry Pi 2 B can do this.
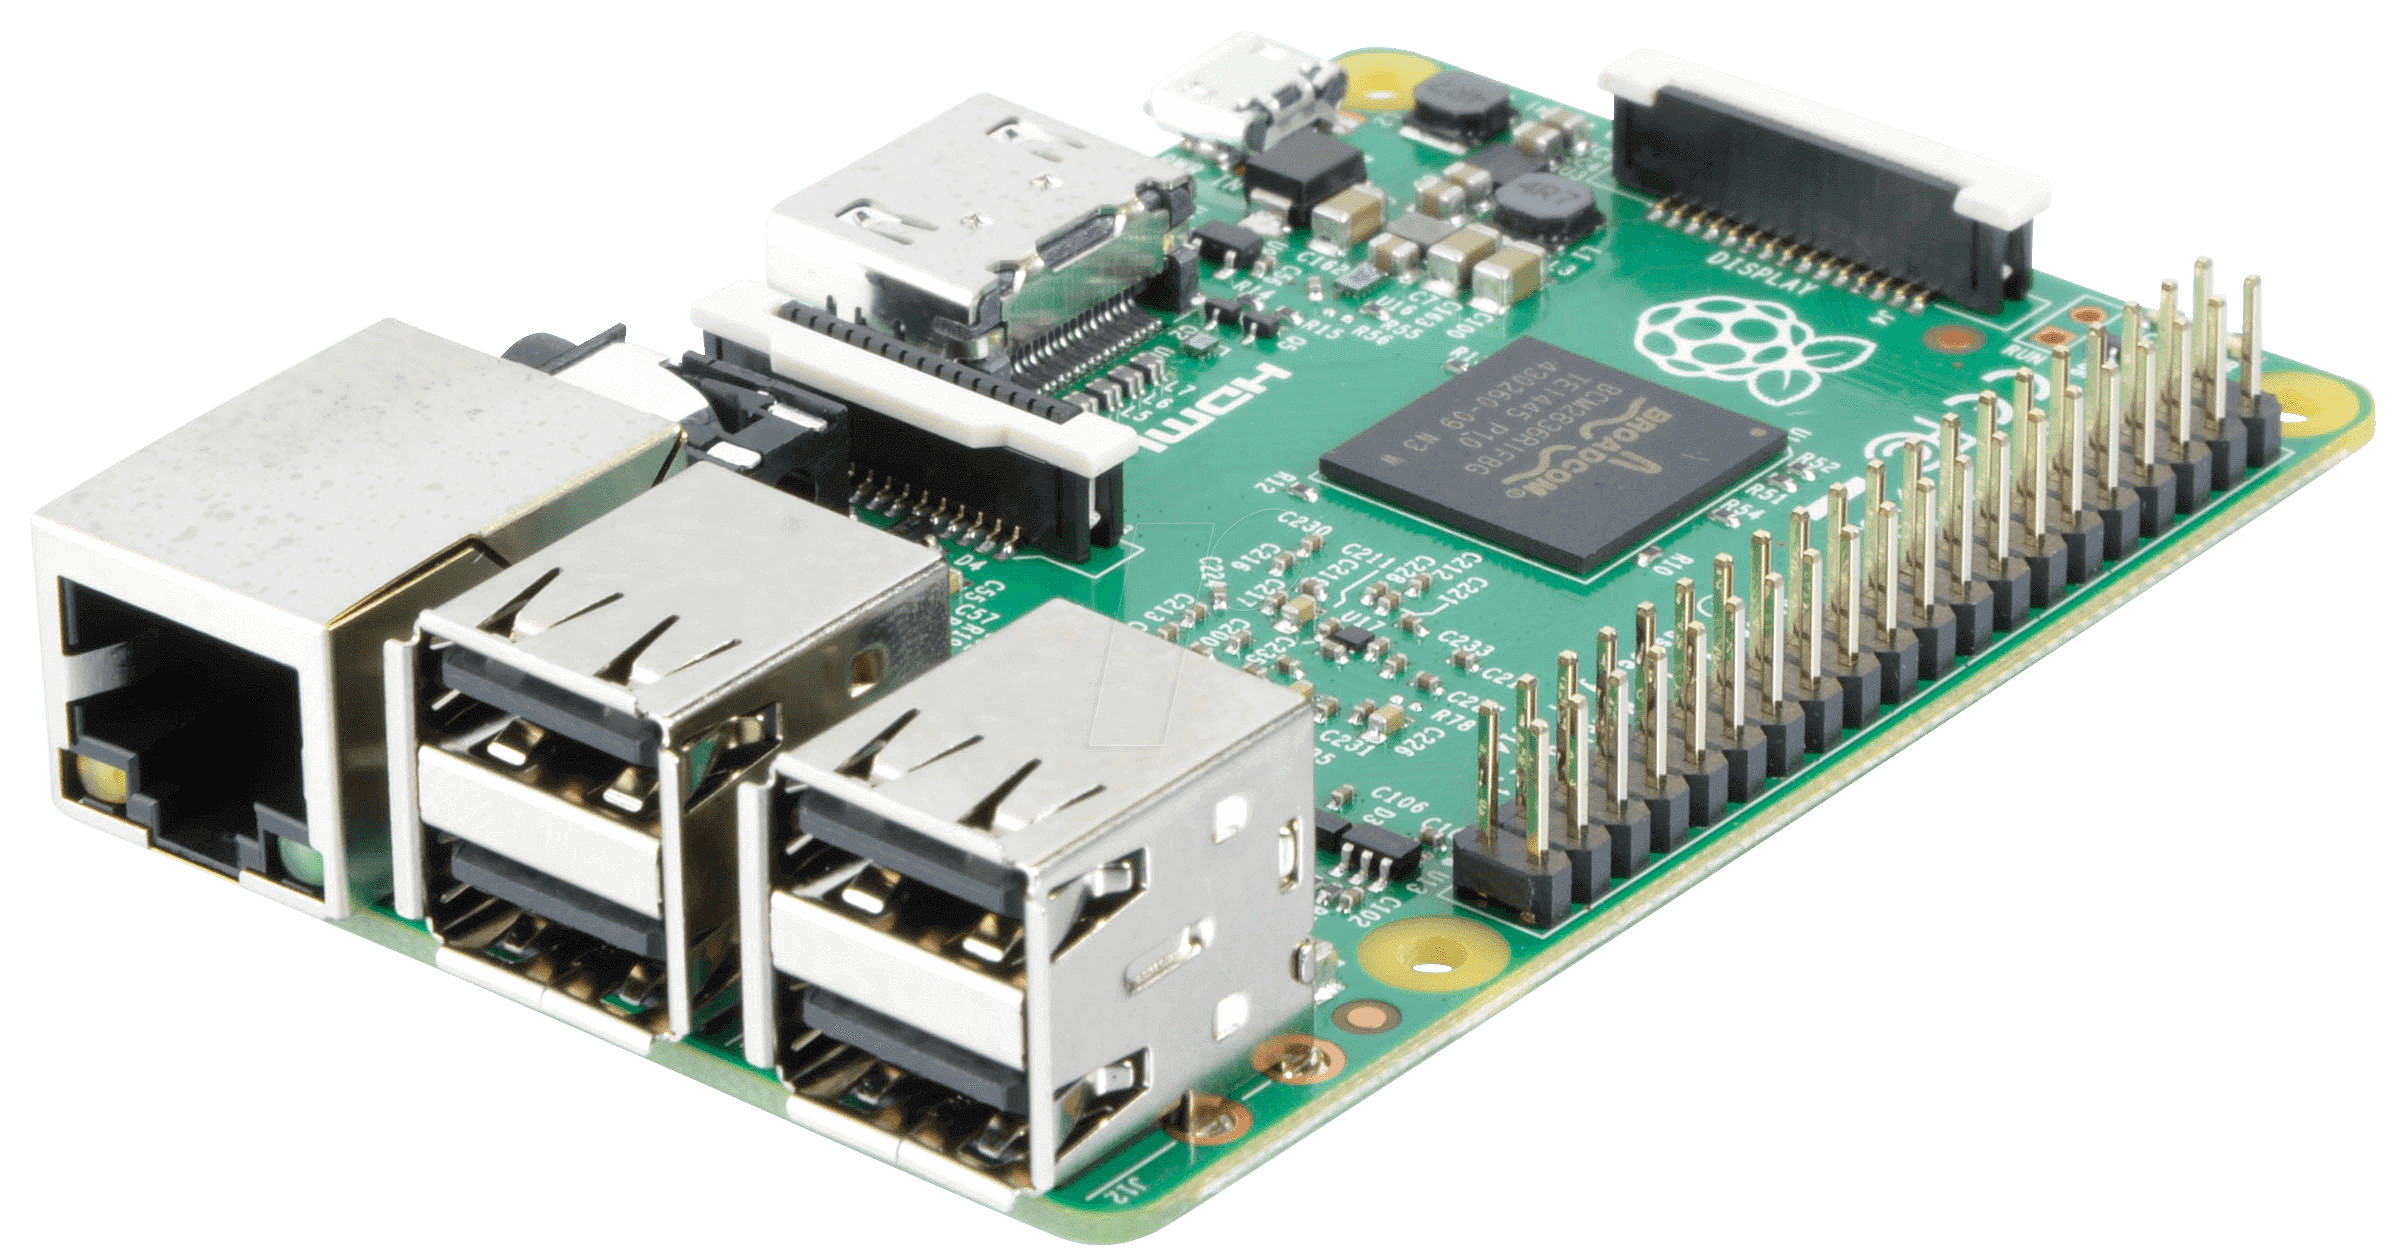
However, the newer model 2 is significantly more powerful and is therefore more robust when playing HD videos. It has 1 gigabyte of memory and a quad-core processor with a frequency of up to 900 MHz. The TV is connected via the built-in HDMI port. Access to stored data is via the existing USB port. In addition to the mini-PC you need the following components:
- a housing,
- a power supply,
- an SD memory card,
- a cooling element and
- a HDMI cable.
You will need a WiFi stick to wirelessly connect a Raspberry Pi to your network. Take care when choosing your SD card: The media player software is stored on the card, which should have a high reading speed for it to launch quickly. 95 MB/s is recommended, but cheaper versions with 48 MB/s will serve their purpose. It just means that the player won’t start as quickly. Total cost is around 70 to 100 euro. Sure, there are cheaper media players that you don’t have to install software on yourself. But the Raspberry Pi with its tried-and-tested programme is much more powerful than products that are comparable in price.
Media player software for the Raspberry Pi
You will need software to use the Raspberry Pi as a media player. There are several to choose from. The Kodi media centre is particularly popular and is tried-and-tested. The programme is available in different distributions, such as OpenELEC and Xbian. If they are stored on an SD memory card, the programme will launch without having to open an operating system beforehand.
You still need to connect a mouse to the Raspberry Pi for installation purposes. You also need to connect to the screen.
When you launch the software, the interface opens for you to click through the required settings, for example:
- surface design,
- language,
- add-ons,
- video output format,
- storage locations,
- type of subtitles and
- Internet connection.
The mouse is then no longer required and the operation can be carried out using either a remote control or via your smartphone or tablet with an app. Now you can use the pictures, videos, music and programmes menu options to play the required files or activate features.
What does not work with the Raspberry Pi as media player
The Raspberry Pi is not able to output any HD audio formats such as DTS-HD and Dolby TrueHD. Compressed home theatre audio formats such as Dolby Digital or DTS are possible via HDMI, which is bound to be sufficient for most people.
Add-ons for streaming portals are not able to be installed on the Raspberry Pi via Kodi. The encryption options for the access data are not sufficient. If you want to use Netflix or Amazon Instant Video, you will need compatible hardware.
Image source: Raspberry Pi Foundation


