


SIMAC Electronics has been developing and producing innovative and exciting products in the field of electronic education under the ‘Joy-it’ brand since 1996. The product range includes measurement technology, PCs, sensors and other technical components.
Under the motto ‘Teaching the Future’, SIMAC develops concepts that support teachers in schools, companies and universities with sophisticated hardware and software solutions. These concepts facilitate the planning and implementation of lessons and minimise the amount of preparation required. One example is the cooperation with the state of North Rhine-Westphalia as part of the ‘Pact for Informatics’ in 2020/21.
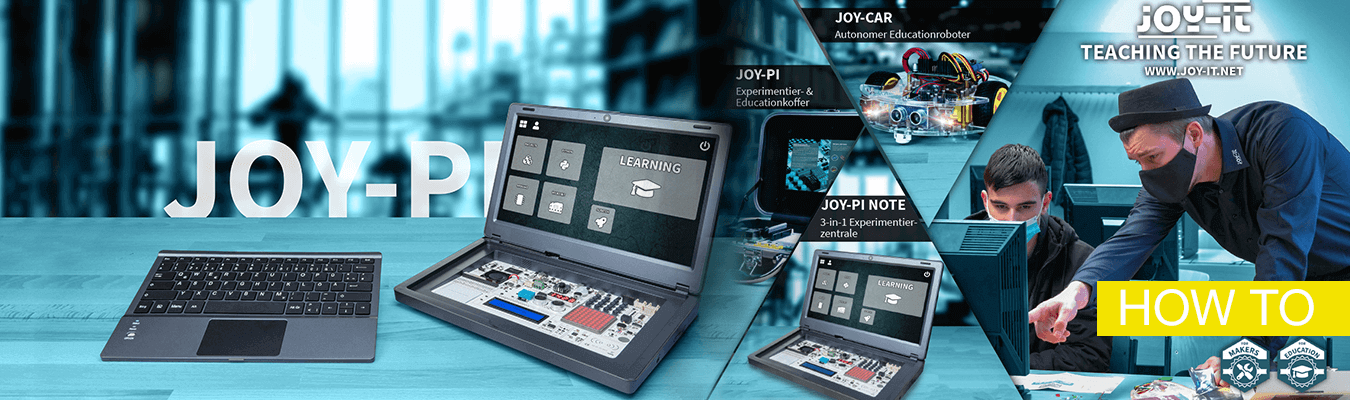
The “Joy-PI Note” from Joy-it is exactly in this area of application.

With its 29.5 cm (11.6″) IPS screen and a removable, wireless keyboard, it takes the basic idea of the Joy-Pi experimental case and puts it in a new, high-quality, attractive format.
With 46 courses and 18 projects, the Joy-Pi Note is not only suitable as an experiment center, but is also made for use in an educational environment. With over 22 integrated sensors and modules, there are no limits to your own experimentation. This simplifies the introduction to electrical engineering and programming.
Thanks to the installed learning platform, which was specially developed for the Joy-Pi Note, the installed units can be operated and learned independently of one’s own previous knowledge. It is also possible to connect additional sensors and modules via the pins of the Raspberry Pi, which are routed to the outside, and thus also to carry out more complex projects.
The programming languages Scratch and Python serve as a basis. This allows young “beginners” from 8 years up to students to use the capacities and possibilities of the Joy-Pi Note according to their needs.
Of course, the Joy-Pi Note can also be used as a “classic” notebook. All programs compatible with the Raspberry Pi® 4 can be installed. Through the integrated 2MP camera, for example, video conferencing is also possible.
The costs involved are also easy to keep track of compared to other concepts, because apart from the Joy-Pi Note and a 4th generation Raspberry Pi, you don’t need any other accessories. Everything you need is in your new “laptop”.
To give you a better understanding of how to use the Joy-Pi Note, we will now describe a concrete use case:
Schwierigkeitsgrad
Is individually selectable, from beginner to advanced.
Time
depending on the project between 20 minutes and 2 hours, the time required depends on the complexity of the selected project
Cost
Joy-Pi Note approx. 349,00
Raspberry Pi4 4GB approx. 64,00
Hardware
Joy-Pi Note, Raspberry Pi4 ( 4 or 8GB recommended )
Software
The operating system and all software are included. On the product’s own homepage (www.joy-pi.net) you can always download the software, updates and further instruction material for free if needed.
Lesson “Alarm with the buzzer”
The lesson “Alarm with the Buzzer” belongs to one of the first Python lessons in the educational software of the Joy-Pi Note. Here it is explained playfully and step by step how the Python programming language works and how the sensors and modules built into the Joy-Pi can be used and addressed. At the beginning we start with the simplest basics.
The further the lessons progress, the more they build on each other and connect several sensors to more complex program sequences. However, great importance is always placed on not simply providing the user with a complex program code, but to explain this understandably and step by step.
In this way, even newcomers and beginners are not mercilessly overwhelmed and overloaded. The own level of knowledge can be constantly expanded and improved.
The first lesson teaches how to control the first module, the buzzer.

But what exactly is a buzzer? The buzzer is a component that emits a sound as soon as it is supplied with power. The buzzer has two pins: GND and GPIO18, which means that the buzzer is connected to GPIO pin 18 (GPIO.BCM mode) of the Joy-Pi Note to be controlled. It is additionally connected to the GND connection of the Joy-Pi Note to close the circuit. But now how to activate the buzzer via Python? This is how the first command is written:
import RPi.GPIO as GPIO
The RPi.GPIO library is the official library of the Raspberry Pi, which can be used to access modules and components via the GPIO connection. However, RPi.GPIO is a bit long to write it out every time. Therefore the library is imported and the abbreviation GPIO is given. From now on it is sufficient to address the library by its abbreviation. Now the following is entered:
import time
The second library that is now imported is called time. It is a large library, but only the sleep command is used from it. It can be used to pause the program for a certain amount of time before it continues to run. This is especially useful in this lesson to let the buzzer work before continuing with the rest of the program and turning it off again. Next, enter the following:
buzzer_pin = 18
As learned earlier, the buzzer is connected to GPIO pin 18 on the Joy-Pi Note. So now the pin assignment of the buzzer is configured. You can now set the GPIO mode with the following command:
GPIO.setmode(GPIO.BCM)
As mentioned earlier, the GPIO.BCM mode is used to reference the corresponding GPIO pins. The buzzer is connected to pin 18 of the GPIO.BCM layout, not according to the GPIO.Board layout. Accordingly, this must be taken into account in the configuration with the command. Since the buzzer is an output device, the pin must also be defined as OUTPUT:
GPIO.setup(buzzer_pin, GPIO.OUT)
Output devices are controlled in which a signal is sent to them. Hence the configuration of the buzzer_pin with GPIO.OUT. Now the buzzer will sound by the following input:
GPIO.output(buzzer_pin, GPIO.HIGH)
Basically a module is activated with the instruction GPIO.HIGH. It tells the module to be switched on. Some modules may behave differently, but in principle a module is activated by this instruction. Of course the buzzer should not sound permanently. Therefore the program is paused only for half a second by using the command time.sleep-:
time.sleep(0.5)
The time.sleep function pauses the execution of the program for half a second. By pausing the program after the GPIO.HIGH instruction, the buzzer will remain enabled for that time before being turned off again afterwards. This is implemented with the following command:
GPIO.output(buzzer_pin, GPIO.LOW)
After the buzzer is enabled, it will only stop when it receives the GPIO.LOW signal. After that, we still clean up the GPIO pins so that they can be reused in the next lesson:
GPIO.cleanup()
By cleaning up, the same pins can be reused later for other purposes. Now run the script and see how the buzzer is activated for half a second!
import RPi.GPIO as GPIO
import time
buzzer_pin = 18
GPIO.setmode(GPIO.BCM)
GPIO.setup(buzzer_pin, GPIO.OUT)
# Enable buzzer
GPIO.output(buzzer_pin, GPIO.HIGH)
time.sleep(0.5)
# Disable buzzer
GPIO.output(buzzer_pin, GPIO.LOW)
GPIO.cleanup()


