


Multimeters are universally applicable measuring devices for all different kinds of electrical measurements. Thus you can, for example, use them to carry out voltage measurements, resistance measurements and current measurements. The handling and use of a multimeter is not hard — at least when it comes to determining the fundamental values such as voltage. Since analogue devices are rare today, these instructions focus on digital models.
1. Setting up
In advance: All settings are important in order to prevent damage to the device and injury.
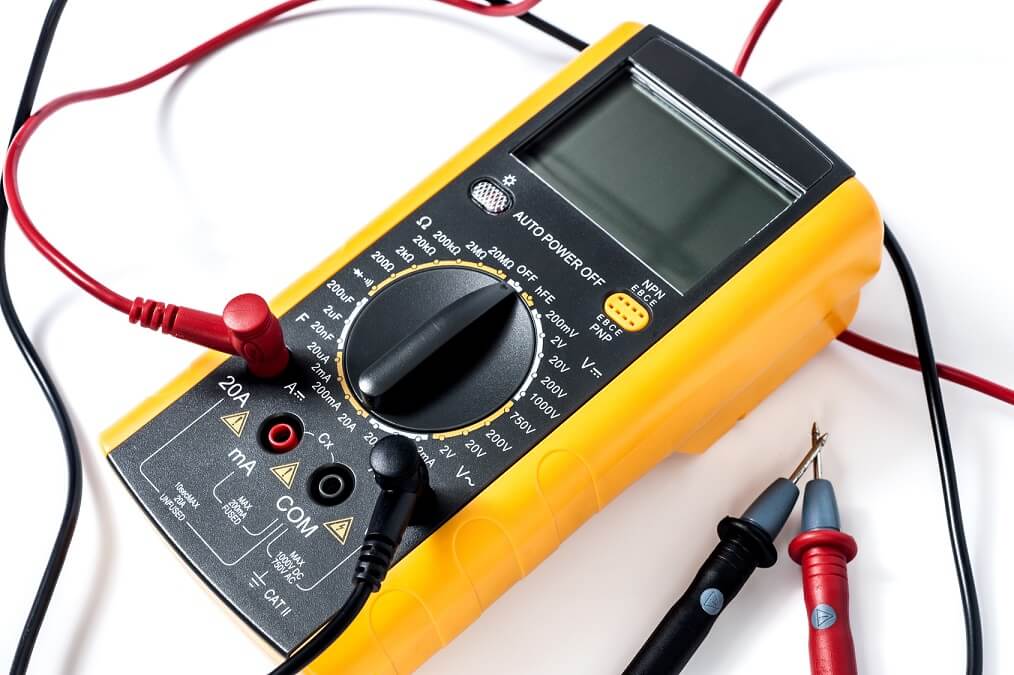
The most important operating element of every multimeter is the round selection switch in the centre of the device. With its help the user selects the measuring type and, if necessary, the measuring range, sets the switch depending on the task to “DC” (direct current) or “AC” (alternating current) or to “V” (voltage) or “A” (ampere).
If you want to measure resistance, select “ohm”. In this case, there must be no current flowing on the line to be checked.
2. The fine tuning
If the multimeter does not have the “Auto range” function, i.e. the measuring range is not self-determined, it is also necessary to estimate the level of expected current or expected voltage.
Rule of thumb: It is better to set a measuring range as high as possible if you are unable to estimate the values. In the course of the measurements it is then necessary to switch down level by level to ensure accurate measurement results. If the voltage range to be measured is, for example, at about 10 V, it is advisable to choose a voltage range of at least 20 V.
3. The measuring lines
Now for the measuring lines (or measuring probes). Normally, there is a red and a black line.
- The measuring lines are used to establish a connection between the multimeter and the measuring object. The multimeter offers suitable connection sockets, usually at the bottom. The black measuring line belongs to the connection with the name “-” or “COM” (for “common”).
- The red measuring line comes into the connection “+” or “V” (for volt) or “Ω” (for ohm). Important: Plus and minus stand for the polarity of the measurement of DC current. Red for the positive and black for the negative pole. This is good to know if the circuit to be tested is not marked with an appropriate sign.
Important: For a current measurement you must first stop the corresponding circuit, place the multimeter between it and only then switch the power back on.
4. The measurement
Now hold the test probes at two measurement points, for example the terminals of a battery.
If the measuring range is too high (see step 2), there is only a small deflection. In this case it is advisable to very tentatively set a smaller measuring range on the multimeter. This can provide more accurate results.
Image source: Fotlia / 76131648 / maniaroom


