It doesn’t always have to be expensive: This is how you build your own WiFi repeater.
Usually the WiFi signal does not reach every inch of the house. If a part of the home or garden is not sufficiently covered by the home network, you don’t necessarily need an expensive repeater. Often, a homemade WiFi repeater is ample to strengthen the existing WiFi signal. In this How-To, we show you how quickly and easily the project can be realised.
Suitable for: Beginner/advanced
Time required: 30 min
Budget: approx. 10 €
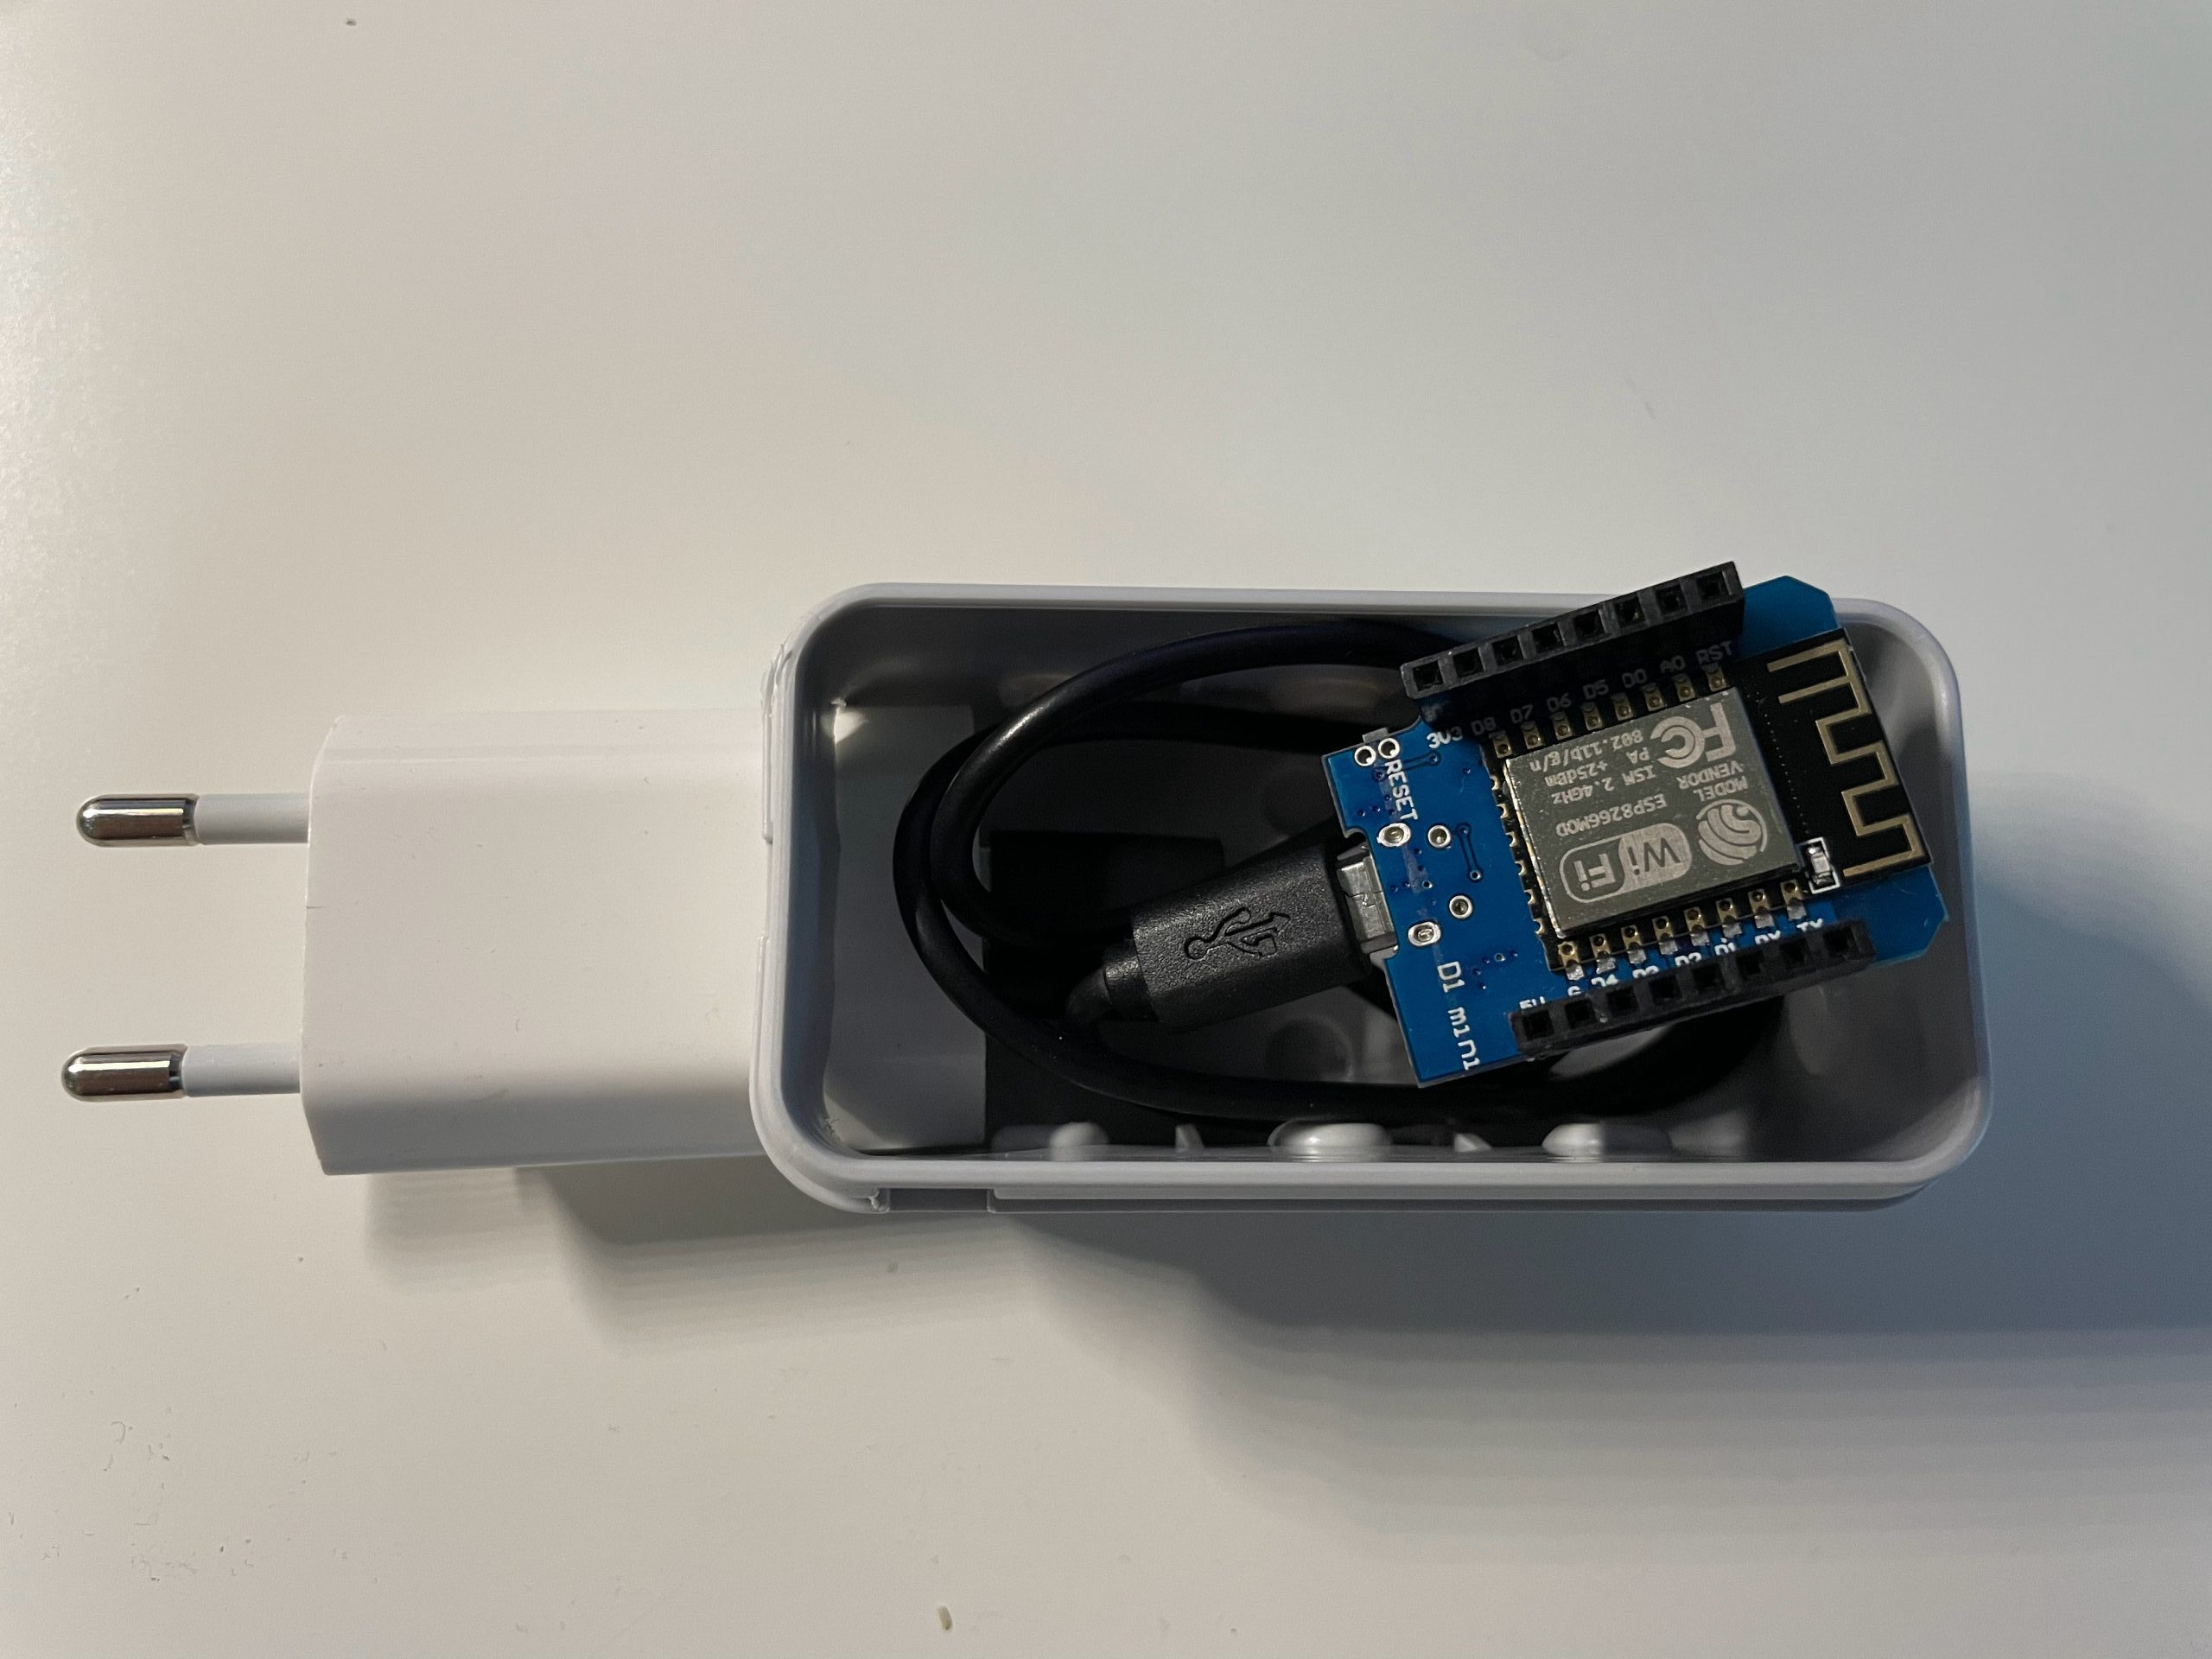
Required components: WEMOS D1 Mini-ESP8266, 5V USB power supply, micro USB cable, case, PC.
Flashing the ESP8266 software
The project starts with the software: Depending on the operating system (Windows/Linux/MacOS), flashing the microcontroller works differently. In the following section we will show you how to carry out the process according to the operating system you are using.
First you need the firmware binaries from the GitHub project.
After downloading, you can start flashing.
Setup with Windows
To set up your WiFi repeater with the Windows operating system, you need the official ESP flash tool from the ESP8266 manufacturer “ESPRESSIF”.
Follow the installation instructions and then open the program. Select “Developer Mode” and “ESP8266 Download Tool”: A window will open as shown in Figure 1.


Select the firmware binaries from the GitHub folder by clicking on the “…” button and selecting “0x00000.bin” and “0x02000.bin”. Make sure that the two check marks are set. You can set the remaining settings, such as SPI SPEED, SPI MODE and FLASH SIZE, as shown in Figure 1. Now connect the ESP8266 to your computer via USB and select the correct COM port. The flash process can be started by clicking on “Start”.
Setup with MacOS
With MacOS the complete flash process can be done in the terminal. To install the flash tool, you need a package manager such as Homebrew or pip.
If you have chosen one of the two package managers, execute the corresponding command in the terminal:
- For Homebrew: brew install esptool
- For pip: pip install esptool
Connect the ESP8266 to your Mac via USB and find out the COM port with the following command:
ls /dev/tty.*Make a note of this COM port name according to the format in Figure 3; we will need it in the next step.

Navigate to the already downloaded GitHub folder with the cd command (in our case it is in the downloads folder) and then go to the firmware folder (see figure 4).

Once in the firmware folder, run the following command:
esptool.py --port /dev/tty.usbserial-14110 write_flash -fs 4MB -ff 80m -fm dio 0x00000 firmware/0x00000.bin 0x02000 firmware/0x02000.binMake sure that the following partial command corresponds to your COM port as described above!
„... /dev/tty.usbserial-14110 ...“ If the flash process was successful, the console will output the following (Figure 5):

Setup with Linux
For all Linux distributions, the flash process works the same as for a Mac. Only the COM port will look something like this:
/dev/ttyUSB0Setting up the Access Point
After you have successfully flashed your ESP8266, the AP setup can start. First, connect to the ESP8266 via your WLAN using a WiFi enabled device (smartphone or laptop). The SSID is set to “MyAP” by default and does not require a password. Next, open your browser and call up the IP address “192.168.4.1” (Figure 6).

Under STA Settings you can connect the ESP8266 to your WiFi router. Just enter the SSID and the password and press “Connect”. The microcontroller will take a few seconds to reboot.
The second step is to configure your ESP8266 as a WiFi NAT router. Enter any SSID and set a password. Then confirm this setting with “Set”. Again, the ESP8266 will force a reboot.
Finally, it should be mentioned that the ESP8266 has a throughput of 5 Mbit/s (upload and download), which is quite sufficient for normal applications such as surfing the Internet, writing e-mails or watching videos on YouTube. For downloading larger files, however, we recommend not using the ESP8266 as a repeater.
Now you can position the ESP8266 as a WiFi repeater wherever you have a connection to your WiFi router. The ESP8266 can be powered from any socket using a USB power supply and USB cable. Your home network got on a new level and supports you in every inch of your home.